How To Guides
Barista Tips – Guide to Tamping
As part of our series of coffee making guides we take a look at the skills behind every great barista.
In recent blogs we have taken an in-depth look at the processes behind milk steaming and the techniques involved in creating fabulous Rosetta latte art.
In this post we explore a process of tamping and outline its importance in the production of great tasting espresso drinks.
Continue reading to learn how to use the tamper correctly and the steps to take to transform your ground coffee into delicious espresso.
What is Tamping?
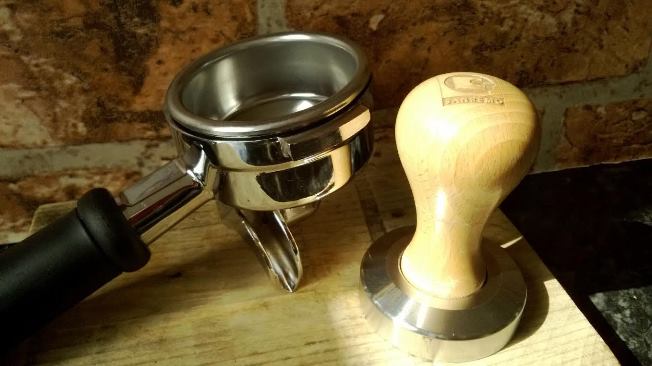
Tamping is the process of compressing the coffee so that the hot water can be distributed evenly when the espresso is brewed. Correct tamping ensures an even flow of water through the coffee, which is vital to extract a sweet, full flavour from the grounds.
Factors Influencing Tamping
Level
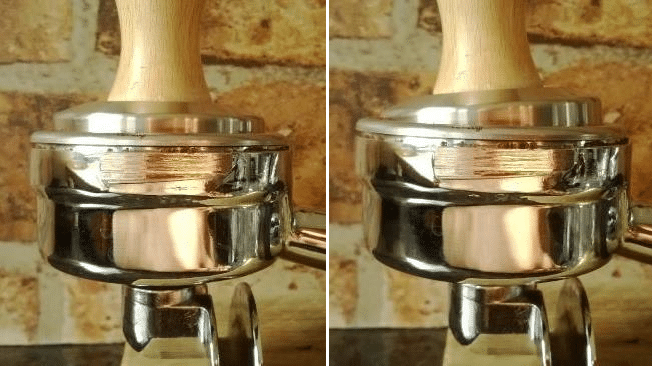
It is paramount to tamp level. This will allow all the coffee to extract evenly, created a fully extracted espresso that is not bitter or under developed. If not, one side of the ground coffee will be deep, and the other shallow. Water takes the path of least resistance through the ground coffee- so in the case of an uneven tamp, more water will pass through the shallow side of the coffee, causing bitter over extraction, whilst at the same time the deep side of the coffee will be under-extracted, causing sour flavours. (Both under extraction and over extraction do NOT cancel each other out!)
Pressure
Pressure is applied during tamping to compress the ground coffee so there are no gaps. If there are any gaps, the water will flow through them, bypassing the coffee and causing under extraction. This is called channelling. The pressure applied during tamping should be firm, not weak but not heavy. Use the weight of your upper body to apply steady pressure, it shouldn’t feel like a gym workout!
How to Tamp – 5 Step Guide
So the coffee has been freshly ground and dosed into the portafilter, ready to be tamped. The following steps will take you through tamping.
Step 1 – Distribute the Coffee
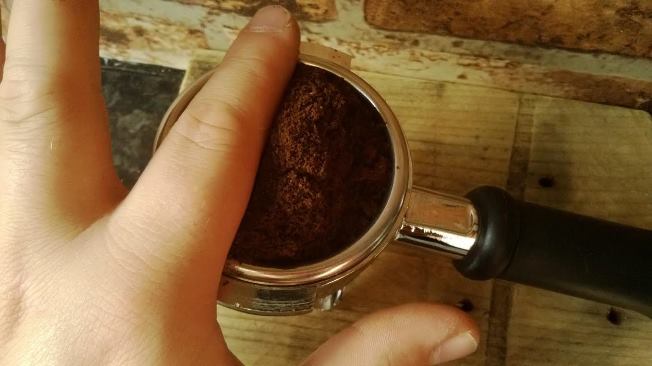
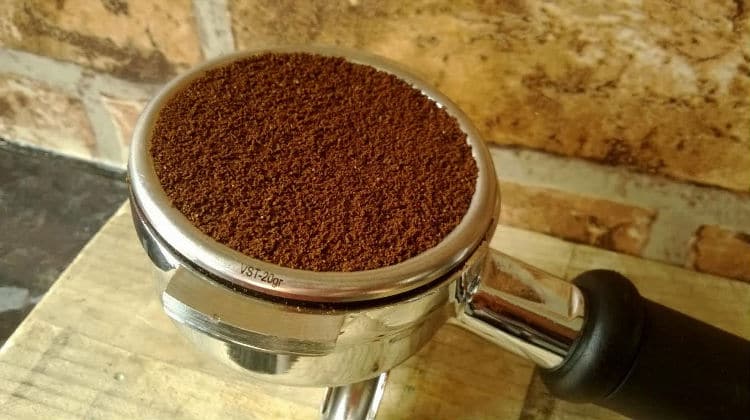
The grounds are likely to be heaped up in the portafilter. They need to be more evenly distributed so that the coffee can be evenly extracted- this can be done by gently tapping the portafilter on the grinder forks or with the palm of the hand, to create a more level spread of coffee. Alternatively, the grounds can also be distributed by sweeping a flat tool or finger back and forth across the basket, front to back and side to side (this way creates the most even distribution, but is more time consuming).
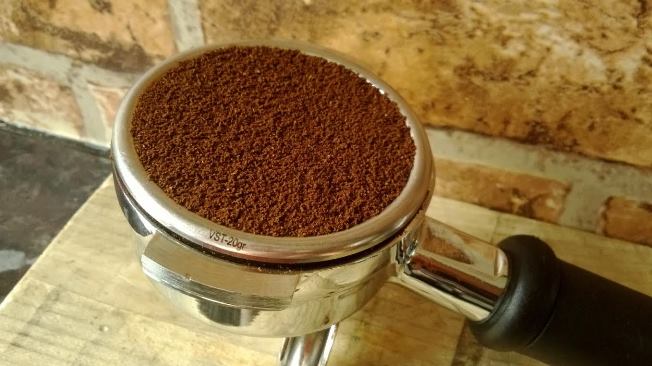
Step 2 – Position the Portafilter
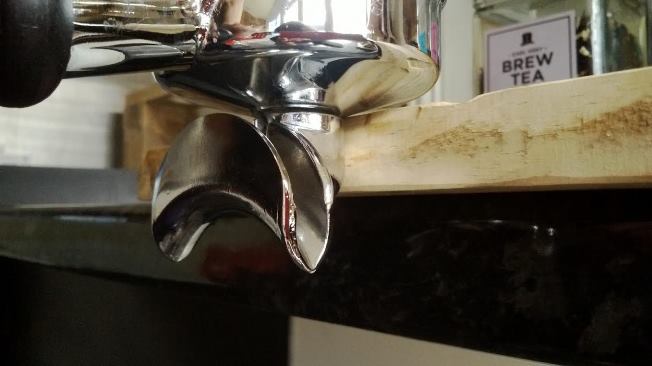
Rest the portafilter on a steady surface whilst holding the handle. You can rest it on the spouts, but a single spout portafilter will be unstable like this and the spouts are likely to become dirty quickly this way. A better way is to rest the portafilter on the edge of a surface, resting the spouts against the vertical edge and underneath the portafilter head against the horizontal surface, keeping the portafilter level.
Step 3 – Hold the Tamper
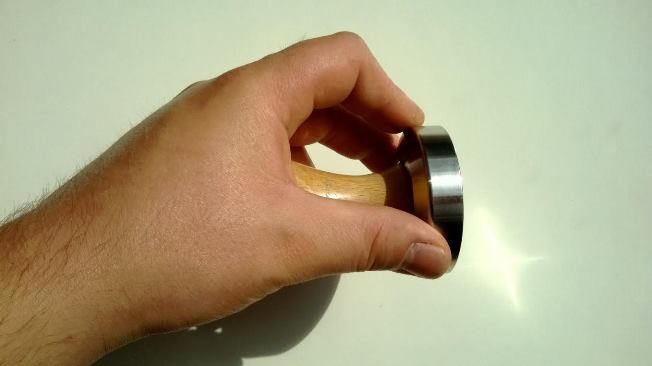
Hold the tamper in your hand like a door handle, with the end of the handle in your palm and your fingers wrapped around the top of the base. Make sure the base of the tamper is dry; if it is wet, dry coffee will stick to it, creating a gap in the compressed coffee.
Step 4 – Press & Twist
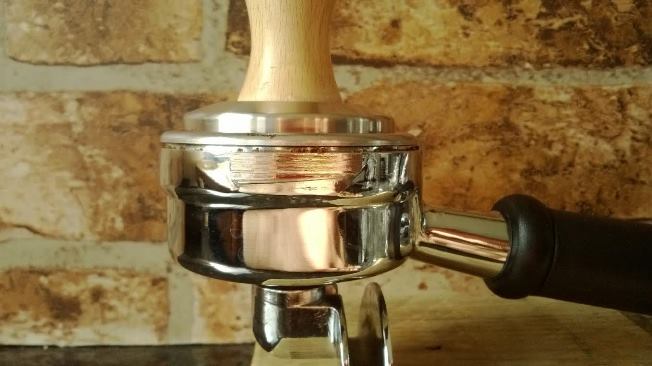
Place the base of the tamper onto the ground coffee, keeping it level with the basket edge- you can feel this with the edge of your fingers, and apply firm pressure. Give the tamper a short twist, this will reduce the amount of loose grounds after tamping.
Step 5 – Remove the Tamper
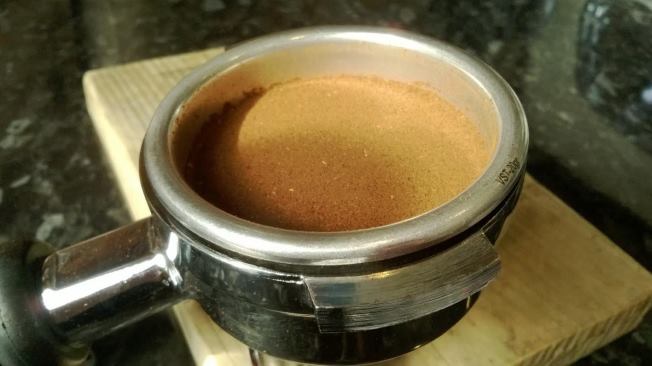
Remove the tamper- job done. There may be loose grounds on the side of the basket and on top of the ground coffee; that’s fine. If there are any grounds on the on the top edge of the basket and the ears, these need to be wiped off, if not they will cause extra wear on the group seals. Do not be tempted to tap the edge of the portafilter to dislodge any loose grounds from around the side- it can cause cracks and gaps to open up inside the compressed bed of coffee and cause channelling.
Thanks for reading our barista guide on tamping coffee. If you would like to learn more about the practical skills required in becoming a professional barista, please see information on our coffee training courses.


